

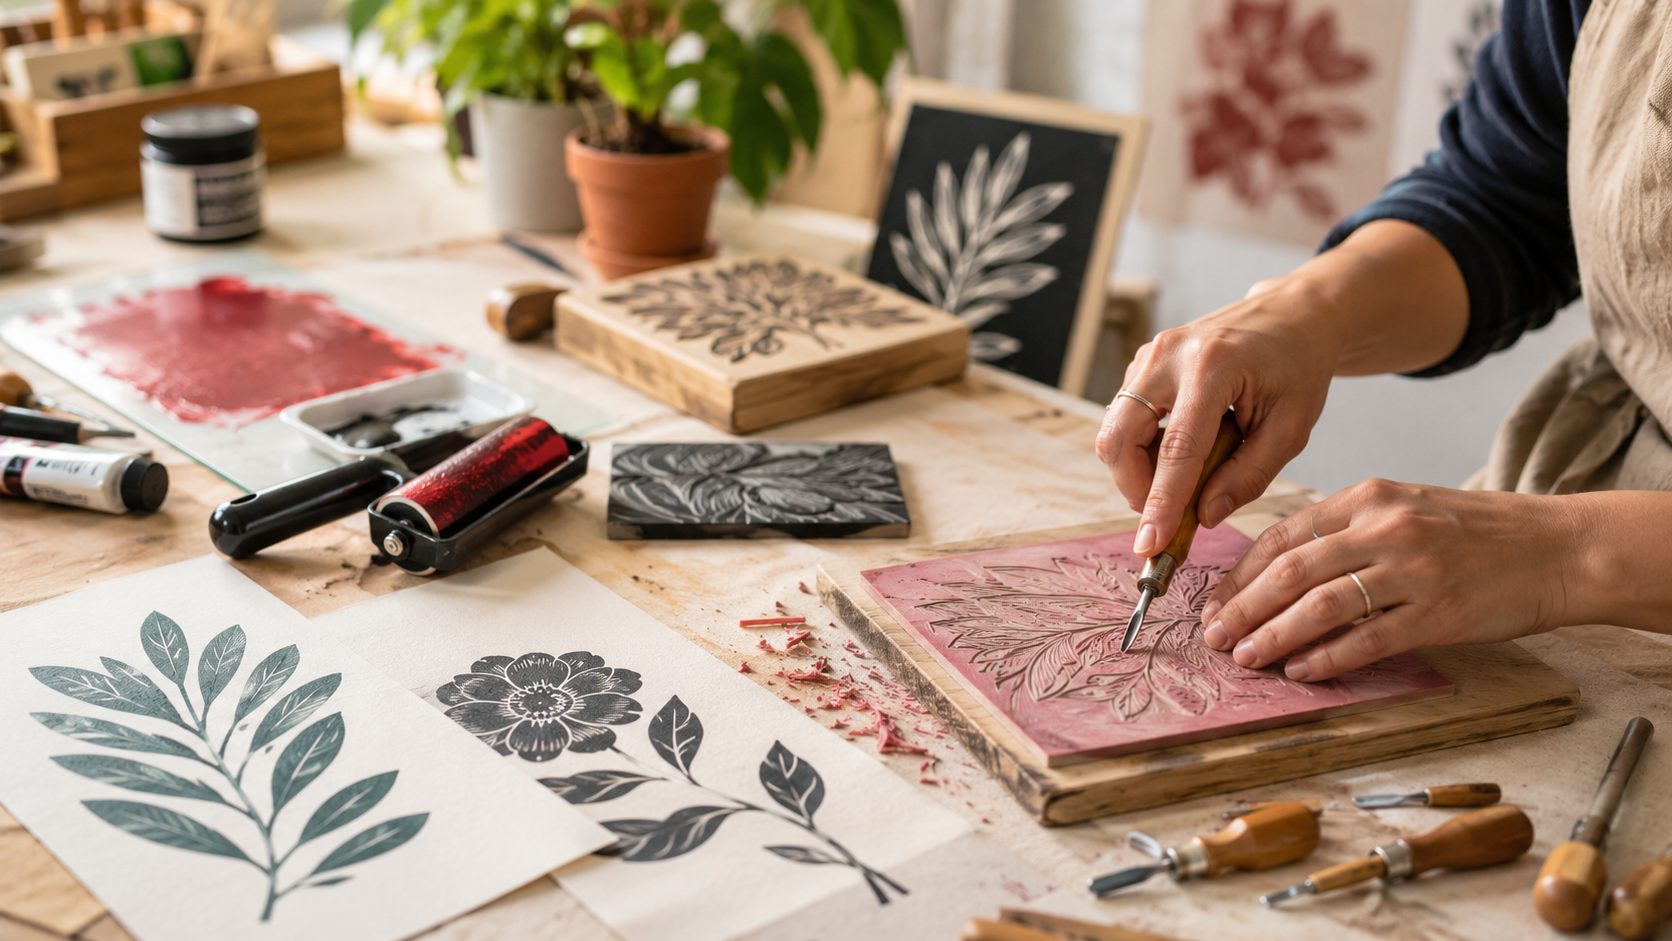
Block printing combines drawing, carving, ink, and pressure to create images that can be reproduced again and again. It is hands-on, highly adaptable, and approachable enough for a first-time artist while offering nearly endless possibilities for more experienced printmakers.
If you are exploring block printing for beginners, you do not need an elaborate studio or expensive equipment to get started. A few basic tools, a simple design, and an understanding of the printing process are enough to begin experimenting.
What Is Block Printing?
Block printing is a form of relief printmaking. An artist carves away portions of a flat block, leaving the desired image raised above the recessed areas. Ink is rolled across that raised surface and transferred to paper, fabric, or another material.
Linocut is one of the most accessible forms of block printing. Instead of carving traditional wood, the artist works with linoleum or a softer carving material. You can learn more about linocut and related methods in our guide to different art mediums and printmaking techniques.
The important thing to remember is that the areas you carve away generally remain blank, while the areas you leave behind receive the ink.
Essential Block Printing Tools for Beginners
You can create your first prints with a surprisingly small collection of supplies.
Choosing a Printing Block
Traditional linoleum gives artists a firm carving surface capable of producing crisp details. Soft-cut rubber and other beginner-friendly carving blocks require less pressure and can make learning easier.
Smaller blocks are usually best for your first project because they allow you to complete the carving and printing process relatively quickly.
Carving Tools
A basic carving set usually contains several interchangeable blades or gouges. V-shaped tools are useful for narrow lines and details, while wider U-shaped gouges remove larger areas.
Always carve away from your hands and body. Rotate the block as necessary rather than placing your hand in the path of the carving tool.
Ink, Brayers and Printing Supplies
You will also need:
- Block printing ink
- A brayer, or small rubber roller
- A smooth surface for rolling ink
- Printing paper
- A wooden spoon, baren, or printing press for applying pressure
- Scrap paper for test prints
Water-based block printing ink can be especially convenient for beginners because cleanup is relatively straightforward.
If you would like to experience the process with specialized equipment, explore our printmaking workshops at East End Arts Council, where artists can learn hands-on printmaking techniques and work with traditional presses.
How to Make Your First Block Print
Understanding the sequence before beginning can prevent many common mistakes.
Step 1: Create and Transfer Your Design
Start with a bold, relatively simple image. High-contrast designs with clearly defined shapes are easier to carve successfully than extremely detailed illustrations.
Remember that the printed image will be reversed. This is especially important when your design includes letters, numbers, or recognizable directional elements.
Step 2: Carve the Block
Begin with the smaller details before clearing large background areas. Make shallow, controlled cuts rather than trying to remove too much material at once.
Think in terms of positive and negative space. Every cut determines where ink will and will not appear.
Do not worry about making every carved mark perfectly smooth. The slight irregularities created by hand carving often give block prints their distinctive character.
Step 3: Ink the Surface
Place a small amount of ink on a smooth surface and roll the brayer through it repeatedly.
You are looking for a thin, even coating. Too much ink can fill fine carved lines and make the print muddy, while too little can create patchy coverage.
Roll the brayer evenly across the raised surface of your block.
Step 4: Make a Test Print
Place paper carefully over the inked block and apply even pressure with a baren, wooden spoon, or press.
Your first impression should be considered a test rather than a finished piece.
Look for areas that need additional carving, places where unwanted marks are printing, or sections that are not receiving enough ink. Adjust the block and print again.
Learning to evaluate your own experiments is an important part of developing creatively. Our article on creative exercises for artists offers additional ways to experiment and work through creative challenges.
Block Printing Techniques Worth Exploring
Once you understand the fundamentals, begin experimenting with how the image is constructed.
Use Texture Intentionally
Carved lines do not always need to disappear completely into the background. Parallel lines, crosshatching, dots, scratches, and deliberately rough areas can become part of the finished design.
Experiment With Repeating Patterns
A single block can become a repeating pattern by printing it multiple times.
Try rotating the same design between impressions, alternating its direction, overlapping prints, or spacing impressions into a structured grid.
Try Multiple Colors
Multiple-color prints can be made using separate blocks for different colors or through reduction printing, in which the same block is carved further between successive colors.
Accurate registration, or aligning each impression correctly, becomes increasingly important as additional layers are introduced.
Creative Block Printing Ideas to Try
Once you have carved a reusable block, one design can become the starting point for many projects.
Consider creating:
- Handmade greeting cards
- Personalized stationery
- Gift tags and wrapping paper
- Small art prints
- Repeating botanical or geometric patterns
- Bookmarks
- Printed fabric using appropriate textile ink
- Collaborative prints incorporating multiple artists’ blocks
You can also combine block printing with drawing, watercolor, collage, or other media. Exploring different processes is one of the best ways to begin developing an individual artistic voice. If you are working toward that goal, read our guide on how to develop your art style.
Common Block Printing Mistakes to Avoid
One of the biggest beginner mistakes is choosing an overly complicated first design. Give yourself room to understand carving, inking, and pressure before attempting intricate work.
Other common problems include using too much ink, carving too deeply, failing to make test prints, and expecting every impression to look identical.
Variation is part of handmade printmaking. Small differences in ink coverage, texture, and pressure often make individual prints more interesting.
Keep Developing Your Printmaking Skills
The best way to improve at block printing is to keep printing. Save your test impressions so you can compare them over time, experiment with different papers, try new carving marks, and revisit the same block with different inks or compositions.
If you want additional guidance, our private art lessons can focus on specific media and skills, including printmaking. You can also explore our East End Arts Council blog for more ideas about art, creative techniques, and developing your practice.
For anyone interested in block printing for beginners, the most important step is simply making that first print. Your early impressions do not need to be perfect. Each carved line, test print, and experiment teaches you something about how the process works and opens another possibility for what you can create.

